Polka-Dot Nails Are Coming Back For Fall 2023 - How To DIY The Trend
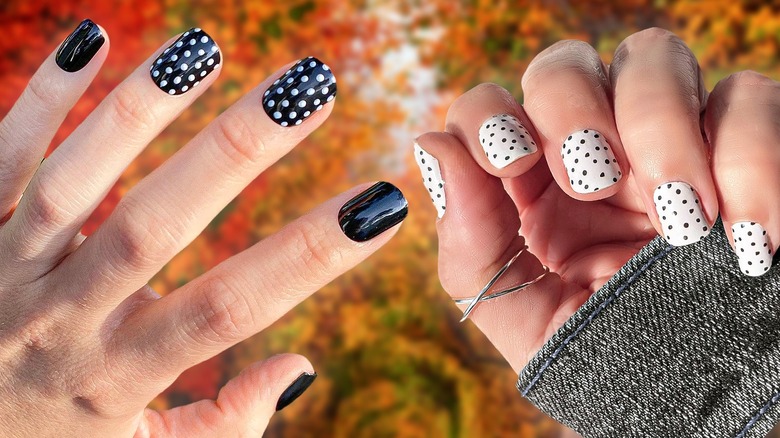
If you love the fact that retro prints are popular with modern fashion lovers, you'll surely want to embrace a nail design trend that captures that oh-so-chic vintage vibe. Of course, we're referring to polka dots, a fun nail design that was also popular in 2020. A wonderfully simple pattern that's also incredibly cute, polka-dot nails are an easy design to DIY if you know how to do it and what tools to use. "It's super simple to do using a bobby pin, even with limited nail art experience, and you can use any seasonal color that is trending," Mazz Hanna, a celebrity manicurist and the founder of the brand of the same name, told Who What Wear.
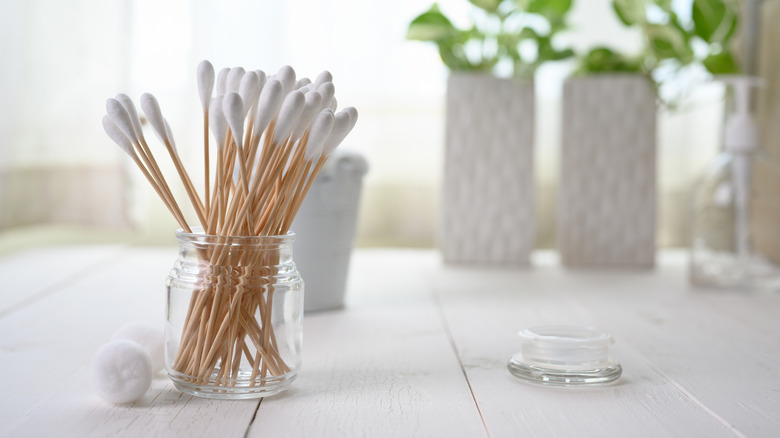
If you don't have a bobby pin, don't worry! You can still create a straightforward, yet striking, polka-dot manicure using other items that have a narrow and rounded tip. For instance, you may want to use a toothpick or a cotton swab. A toothpick would be an ideal option for smaller dots, while a cotton swab will obviously leave you with larger dots.
This may sound pretty easy, and it definitely is. But, at the same time, there are certain things you must do — and not do — to get the perfect polka-dot manicure.
Steps to create a polka-dot manicure
Before you start on your polka-dot nails, you need to gather a few supplies. This includes your intended nail polish and the shade you'll use for the dots. You'll also want to grab a paper towel, a paper plate, or a silicone mat as well as a top coat to protect your design after it's finished. Of course, you'll also want to choose among a bobby pin, a cotton swab, or a toothpick to create your dots.
When you have everything ready, begin by covering your nails with the base color, making sure this layer fully dries before you apply the dots. When your nails are ready for the next step, pour a bit of the second shade of polish onto your paper towel, paper plate, or mat. Now, grab whatever tool you've chosen and dip the tip into the polish. Use the tool as a stamp to create dots on your nails — as few or as many as you want. Give the dots time to dry before adding the top coat to finish it off.
Is it really that easy to create a polka-dot manicure? Why, yes it is — well, that is, if you don't make a few mistakes that might result in having to start over. Fortunately, these mistakes are easy to avoid if you know what they are.
Mistakes that will ruin your polka-dot nails

We have no doubt that you'll find it incredibly easy to create polka-dot nails. However, we're also sure you'll appreciate the process even more if you know what to avoid. This includes not sticking to the proper process and not giving the polish the time it needs to fully dry between each step. While polka dots may be a relatively simple design, it's not the quickest option. Of course, patience is a virtue, and it definitely pays off in this case. As celebrity manicurist Mazz Hanna told Who What Wear, "Polka dots typically take longer to dry, so it's important that you make sure your dots are completely dry before applying your topcoat. If you apply a topcoat too soon, it will cause the polka dots to drag."
Beyond that, don't use the same cotton swab for the entire manicure unless it stays tightly woven. If a swab becomes loose or fuzzy, you might end up with dots that aren't as sharp as you want them to be. This may also leave strands of fluff in your manicure. Instead, grab a new swab whenever needed. Although this may not be an issue if you use a toothpick or bobby pin, you'll also want to replace or clean them up if too much nail polish builds up on them and they end up getting gunky. So, take a little time and TLC, and you'll be head-over-heels for your polka-dot nails.